
Overview
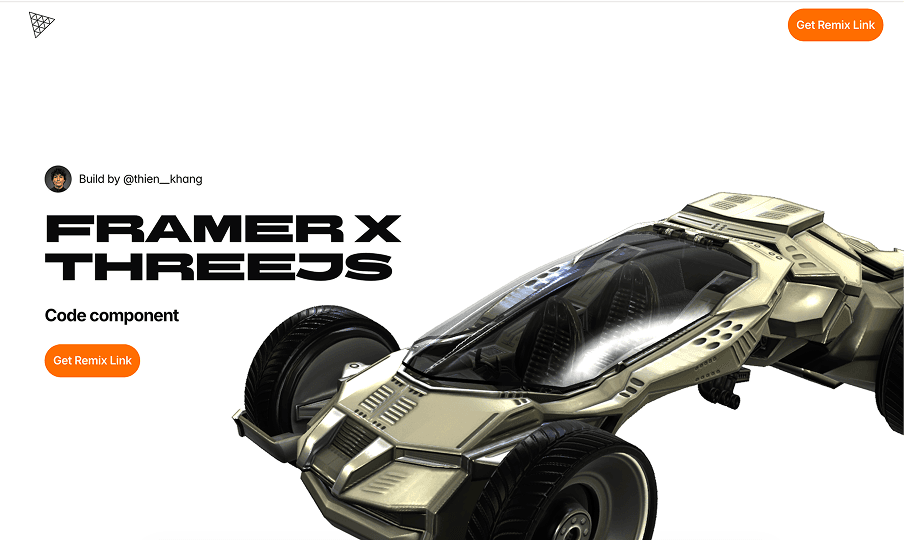
Framer x ThreeJS Runtime is a lightweight Three.js runtime built for designers.
The goal of the project was to help designers create and control 3D scenes directly inside Framer without writing code or deeply understanding Three.js.
Instead of manually setting up renderers, cameras, animations, lighting, or interactions in code, designers can upload a model and work with familiar Framer-style controls.
Why It Exists
Almost every designer wants to build a 3D website at some point.
But building a Three.js website is still a major barrier.
Framer makes it easier than ever for designers to build websites, but the 3D workflow still often depends on external tools like Spline or disconnected custom components.
That creates a clear gap.
Designers can build websites inside Framer.
But they still cannot easily build a Three.js experience inside the same workflow.
The question became:
If designers can build websites in Framer, why can’t they build a Three.js website in the same way?
The Gap Between Spline and Custom Three.js
When I started researching 3D workflows for Framer, I realized most people usually fall into one of two paths.
The first path is using tools like Spline. This is one of the fastest ways to put a 3D model on a website. However, when a project needs deeper interaction, more complex animation logic, or tighter integration with layout and content, this workflow starts to show its limits.
The second path is building directly with Three.js. This gives almost unlimited control, but it also brings a high level of technical complexity. At that point, designers almost have to become developers to continue.
The opportunity was in the space between those two approaches.
I did not want to build a replacement for Three.js.
I also did not want to create another 3D editor.
The goal was to create a runtime that lets designers work with 3D using the Framer workflow they already understand.
The Challenge
The problem was not rendering a 3D model.
The real problem was turning a technical library like Three.js into a tool that designers could actually use.
This created three major challenges:
Challenge | Meaning |
|---|---|
API complexity | Three.js has too many technical concepts for most designers. |
Framer integration | Three.js was not designed to behave like a native Framer component. |
Designer usability | The runtime had to be powerful enough for production, but simple enough to learn quickly. |
The biggest challenge was deciding which parts of Three.js should be exposed, and which parts should stay hidden.
The hardest part was not rendering 3D.
The hardest part was deciding what not to expose.
Three.js provides hundreds of APIs, settings, and technical concepts. If all of them were exposed, the product would quickly become a developer tool instead of a design tool.
Core Idea
Instead of bringing all of Three.js into Framer, I took the opposite approach:
Bring only what designers actually need.
Designers do not need to understand:
Renderer
Scene Graph
Animation Mixer
Raycaster
Render Loop
Environment Pipeline
Designers only need to:
Upload a model
Scroll through a page
Change model states
Hover on an object
Trigger an animation
The goal of the runtime was to translate technical 3D concepts into familiar controls inside Framer.
Approach
Step 01 — Define the Minimum Runtime
I started by defining the essential features needed for a modern 3D website:
Model import
Camera control
Scroll-driven animation
Hover interaction
Lighting
Environment
Material control
The runtime also needed to support:
Local file or URL-based model upload
Section-based scroll-driven camera control
Position, rotation, and scale animation
Scroll appear
Scroll transform
Scroll animation
State transition
Everything had to stay close to the mental model designers already use in Framer.
Step 02 — AI-Assisted Development
This was a completely new technical area for me.
Instead of building everything manually, I used AI agents to accelerate both research and development.
The agents were supported with two main knowledge areas:
Framer Component Architecture
Three.js Runtime Architecture
At the same time, I researched the Framer Developer API and analyzed many Three.js websites to understand the common patterns used in real-world 3D web experiences.
Step 03 — Build First, Optimize Later
In the early stage, I intentionally did not focus on clean architecture.
The only goal was:
Build everything that could possibly be built.
I wanted to understand the limits of Three.js, the limits of Framer, and the limits of the runtime itself before optimizing the system.
Step 04 — Become the User
This was the longest phase of the project.
I continuously tested the product from the perspective of a designer using the tool for the first time.
Every control had to answer one question:
Is this easier than opening a code editor?
If the answer was no, the control had to be redesigned.
Many technical settings were grouped into simpler objects to reduce cognitive load for designers.
What I Built
The first version covered almost the full workflow needed to build a Three.js website inside Framer.
Scene Control
Model Import
Camera Setup
Environment Control
HDRI Setup
Lighting Control
Material Control
Post Processing
Debug Helper
Motion & Interaction
Scroll Animation
Scroll Appear
Scroll Transform
State Machine
Hover Interaction
Click Interaction
Lerp Animation Smoothing
The most important decision was to reuse Framer’s existing event system instead of creating a completely new workflow.
Designers could continue working in a way that already felt familiar inside Framer.
From Model Interaction to Object Interaction
In the early version, the runtime only supported model-level interaction.
Designers could:
Move the model
Scale the model
Rotate the model
Trigger animation
This was enough for basic 3D landing pages.
However, after several rounds of testing, I realized the real opportunity was not only at the model level.
It was inside the model.
For example, a car is not just one object.
It can contain:
Door
Wheel
Dashboard
Steering Wheel
Designers do not only want to rotate the entire car.
They want to:
Hover on the wheel
Click on the door
Trigger dashboard animation
Change the state of individual objects
This led me to build the Object Interaction system.
Instead of only controlling the model at the scene level, the runtime could expose interaction at the object level inside the model.
This opened up more possibilities for product showcases, storytelling websites, and interactive experiences.
The Hardest Problem
The hardest problem was not animation.
It was rendering.
In the beginning, each component owned its own WebGL renderer.
This approach worked well for simple websites.
But as layouts became more complex, problems started to appear:
GPU memory increased quickly
Render cost increased with every canvas
Mobile browsers became more likely to crash
Complex layouts became harder to control
The real issue was not the model.
The real issue was the number of WebGL contexts being created.
Root / Slot Renderer Architecture
To solve this, I designed a new architecture:
Root / Slot Renderer Bridge
Instead of each component creating its own renderer, the entire website uses a single renderer.
Slots only declare data, state, and instructions.
The central renderer is responsible for rendering the full scene.
Benefit | Impact |
|---|---|
Shared WebGL Context | Reduces the number of renderers that need to be created. |
Better Performance | Reduces GPU cost and memory usage. |
Better Mobile Stability | Helps reduce crashes on weaker devices. |
Flexible Composition | Allows 3D content to be placed across different areas of the layout. |
This was also the part that took the most time to research, build, and debug.
Outcome
The runtime turns Three.js from an engineering-heavy workflow into something much closer to how designers already work in Framer.
Designers can:
Upload models
Set up animation
Control states
Create scroll interactions
Build 3D landing pages
without setting up Three.js from scratch.
More importantly, the whole experience keeps the familiar mental model of Framer instead of forcing designers to learn a completely new workflow.
What I Learned
This project taught me that building features is much easier than designing controls.
The hardest part was not rendering a 3D scene.
The hardest part was turning technical concepts into controls that designers could understand immediately.
A good runtime is not the one that exposes the most features.
It is the one that exposes the right features.
The project also reinforced a lesson I keep seeing across design systems, developer tools, and creative software:
Users do not learn APIs.
Users learn mental models.
The closer a product stays to the user’s existing mental model, the easier it becomes to access and use.
For Framer x ThreeJS Runtime, the biggest success was not simply rendering 3D inside Framer.
It was turning a workflow originally made for engineers into something designers could use every day.
0 views
Likes


Comment